
 They are all on order and hopefully we will have them in stock by March 1st! They are available only in Sketch markers. I have not heard about refills, but I am sure that they are also coming.
Jeannette
They are all on order and hopefully we will have them in stock by March 1st! They are available only in Sketch markers. I have not heard about refills, but I am sure that they are also coming. Sorry for the extreme delay in posting - just don't know where the time went! Trying to get everything ready for Christmas really ate up all my free time. This is a holiday thank you card made with a cardinal image from Flourishes. I love this artist! Her designs are so realistic and they stamp beautifully. I stamped the image on white with black momento ink and colored with Copic markers. Then I layered it to a lacey circles die cut. Add a couple fancy layers, stamp a thank you and you're done!
 This wonderful image is from Art Impressions and features their fun little penguins geared up for a sleigh ride. If they are in the Northeast, they are in trouble, as we have had unseasonably warm weather - near 50 for the past week! Unheard of in these parts a week before Christmas! I started by stamping the image with black Momento ink and coloring with Copic markers. I did not color each section completely and left a little white space. The DP is from We R Memory Keepers - not even a holiday paper, but it works well with the card! I added some purple snowflakes and attached some Candi dots over them. These are fun little adornments and you get a ton in a package! Add some ribbon and you have a great little card!
 Starts with a blue theme with silver trim. A very elegant look to Tilda.
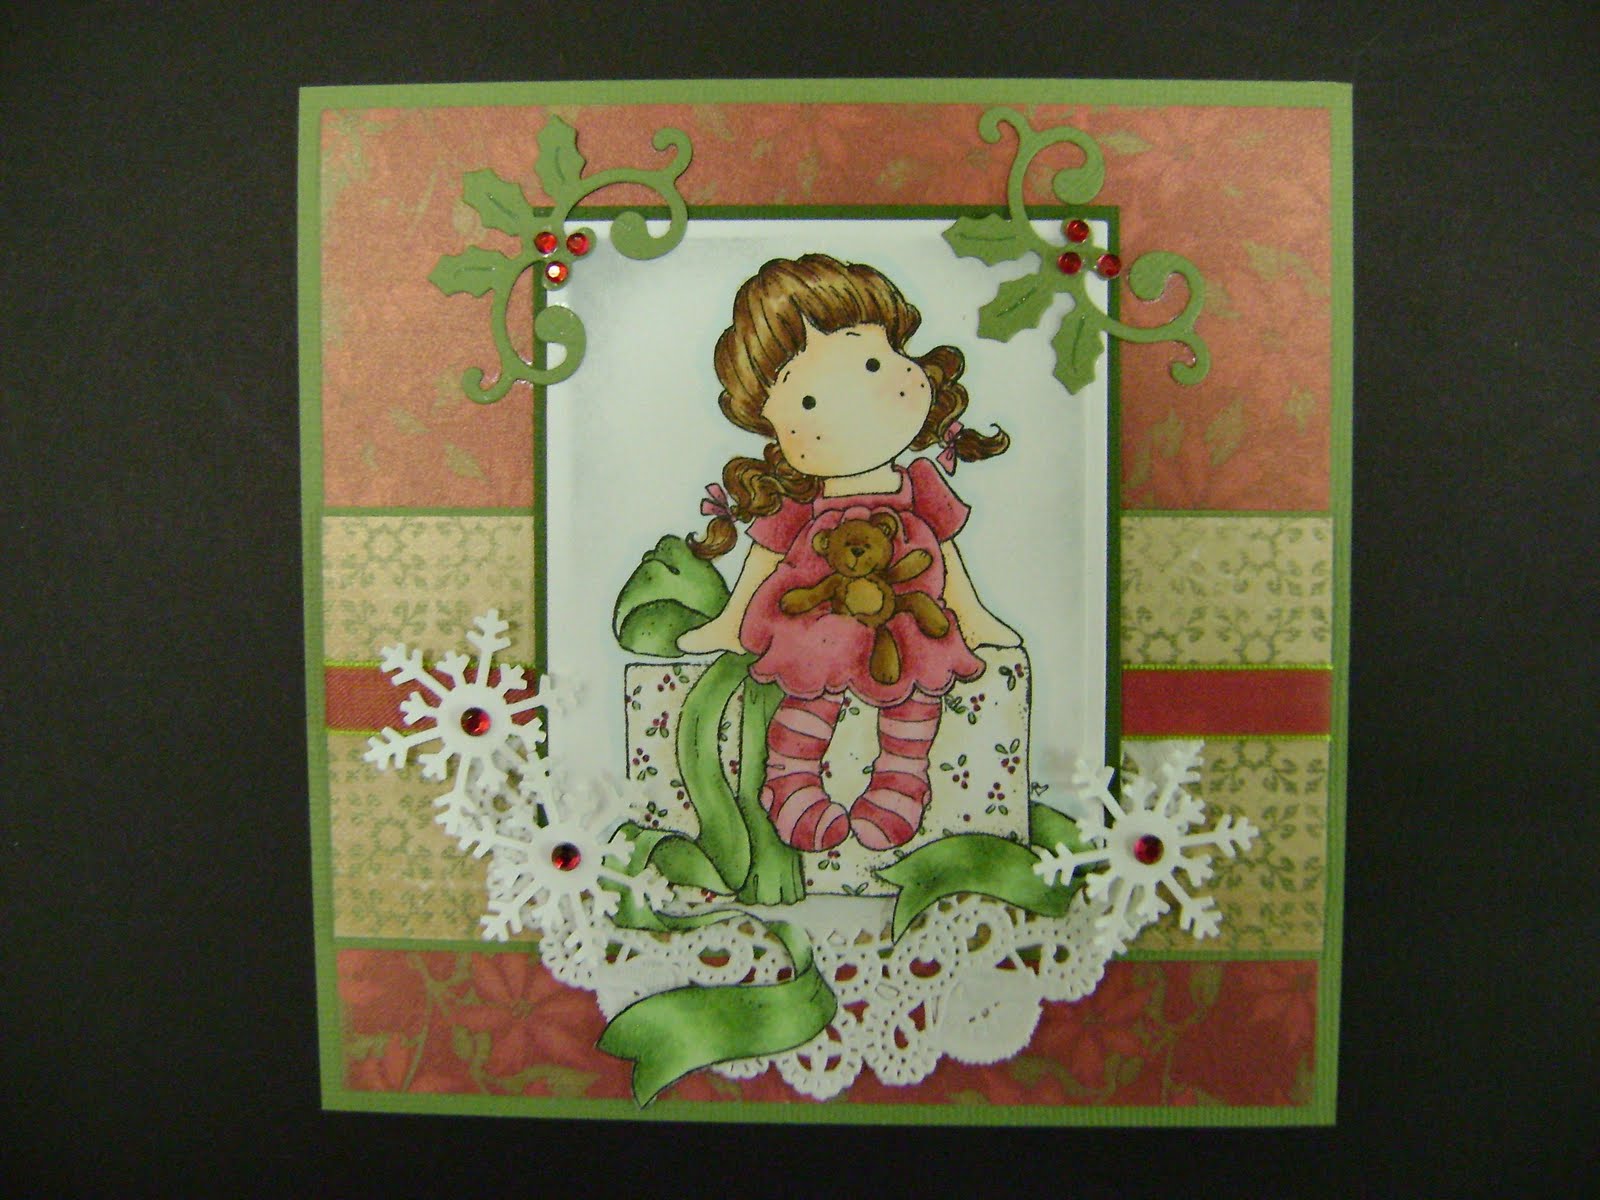 This one is little Tilda with a teddy bear, cut out and sitting on a holiday box. I like the more traditional Christmas colors on this one. I also like the Spellbinders holly accents dies with a little bling!
 Lastly is Tilda with a snow heart - not the most holiday themed design, but I really like this image. This one was colored using Ranger's Distress re-inkers as a watercolor. You cannot tell from the photo, but Tilda was stamped and cut out, then layered over the die cut piece.
 This is one of those cute bunnies from The Cat's Pajamas! if you are a skier - or know someone who is, this is a great image that you can have a lot of fun with. On this card, I stamped the bunny on white CS with Memento ink and colored with Copics. Then, I cut it out. That is the true challenge of this card! Once you get that done, the rest is easy-peasey! The little snowflake corner in the left corner is a Memory Box die - embellished with glitter from Elizabeth Crafts Design. To do this, I adhered a piece of BeCreative tape to a piece of copy paper (the stuff you use in your computer printer). Then I cut it out with the die cut. Note, I tried this with cardstock and could not get a clean cut. The paper worked fine. Then you carefully remove the adhesive backing sheet and dip the piece in EC glitter - the glitter adheres to the adhesive. Brush off any excess. Then add a few dots of Ranger's Glossy Accents to the back and carefully adhere it to your card. The bunny is attached with foam tape. Enjoy!
 Nothing like a tasty Christmas cupcake! This is an Elizabeth Crafts peel-off - attached to a piece of white cardstock, the painted with USArtQuest mica paints (everything except the frosting, that is!). The glitter layer on the card is made by taking a piece of the wide "Be Creative" tape and attaching it directly to the green card front and then covering with Elizabeth Crafts glitter (this is the finest glitter I have ever seen). Then it is simply a layering game. After I got it all layered, I added some Crystal Stickles to the frosting part of the cupcake.
 For everyone who battles the middle age bulge, this is the card for us! I love the image and the saying! These stamps are part of a cling mount set from Art Impressions. Stamped in Momento ink and colored with Copic markers. Layered up with some fun shapes, a few flowers and some pearls!
 Well, this is one way to turn your cats into ornaments! I started with 2 pictures and a Spellbinders circle die. Made to "ornaments" with the pictures and stamped some pine branches on the cardstock base, then used a gold twine from May Arts to "hang" the ornaments. The girls like being festive!
 Where did the week go? I cannot believe it is Friday all ready, but it is! Only 3 weeks until Christmas and it seems like we just finished summer. Oh well. Father Time is not slowing down, that is for sure. Today I used another stamp from a Heartfelt Creations snowman stamp set that I used on a previous post. This time, I stamped the image on kraft cardstock with VersaFine ink and colored the snowman with Prismacolor pencils. This way you can use a white pencil for the actual snowman. I also used a Tim Holtz on the edge die to make the snowflake trim at the bottom of the card. Definitely creates a different look. I hope everyone is doing well getting ready for the holidays. I have 70 cards done - 40 more to go!